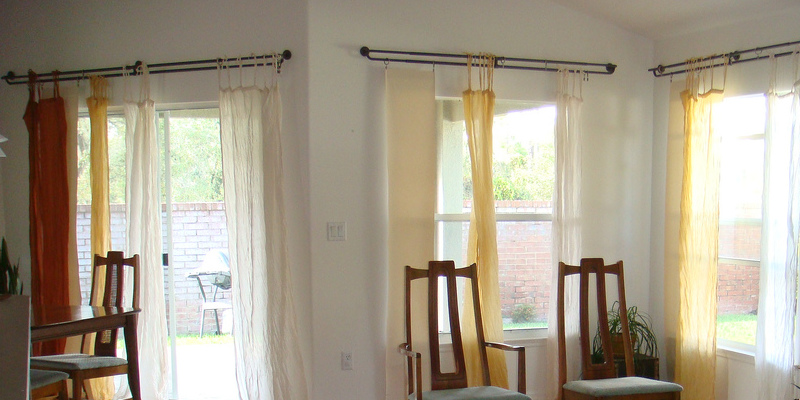
It is difficult to resist the charm of Ancient American-style rocking chairs. They come in all shapes and sizes, but most feature tall backs with spindles, graceful armrests and aesthetic information. Just because they’re so pretty to look at, you might not want to cover them completely with pillows, that would conceal or detract from the attractiveness of the chair. A lot of men and women decide on a cushion only on the chair and set a throw pillow along the rear only when it’s required.
Make a pattern for your pillows with thick, white packing paper or even gift wrapping. Place the paper on the back or seat of the chair and trace the shape gently with a pencil.
Determine how thick you want your pillows to be. Upholstery foam comes in various depths. A 3-inch-keep cushion might be too thick and provide you the sensation of tossing you out of the chair as you rock. A 1/2-inch seat cushion might be too thin. Test a 2-inch thickness first and make adjustments to your own personal preference from there.
Purchase enough material and batting to cover the cushion dimensions, the width of the upholstery foam and 1/2 inch all the way round the cushion for seam allowances. The batting — also utilized in the inside section of quilts — will probably be wrapped around the foam to make a buffer so the rigid foam does not grab the cushion fabric and tear it.
Fold the fabric in half and pin the pattern to it so that you are going to wind up with two fabric pieces: one for the top of the cushion and one for the bottom. Insert three numbers together: the thickness of the foam, the thickness of the batting and 1/2 inch for seam allowances. Divide that number in half and include that amount all the way round the pattern. Utilize tailor’s chalk to generate an extended cutting line across the pattern. Check your math before cutting the fabric.
Pin the right sides of the fabric together and then sew them, using a 1/2-inch seam allowance. Leave a 5- or even 6-inch opening at a strategic place, or where it is least likely to demonstrate. Turn the fabric to the ideal side.
Wrap the batting across the foam. Cut the excess with scissors and paste the edges together on what’s going to be the bottom or back side of the cushion. Await the glue to dry before completing the cushion.
Fold the foam in half and gently insert it through the fabric opening. When it’s in place, make a finished border at the opening and also hand-sew it together.